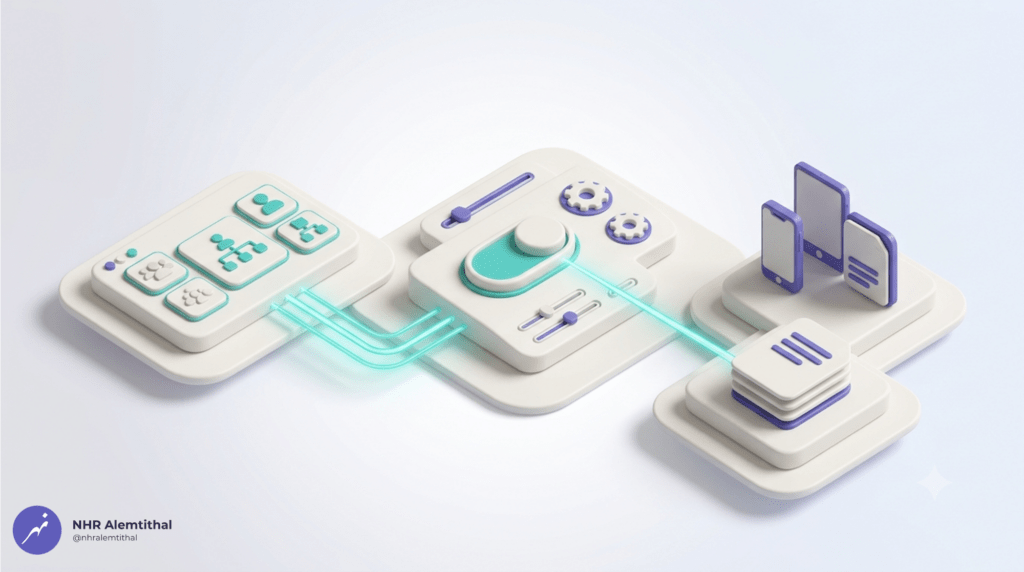
The Mobile Device Management (MDM) user scope in Microsoft Entra dictates which users can automatically enroll their Windows devices into Microsoft Intune when a user signs in. This applies both to the Windows Out-of-Box Experience (OOBE) via Windows Autopilot, and to manual joins via Windows Settings. In managed environments, ensuring this scope is properly configured is the foundational step for zero-touch provisioning and centralized endpoint management.
With Microsoft Entra and Intune, you can initialize this routing centrally from the Mobility settings. This guide walks through verifying and enabling the MDM auto-enrollment scope—including critical wait times, prerequisite checks, and troubleshooting for new administrators.
Why Enable Intune MDM Scope?
Controlling the MDM user scope at the tenant level helps with:
- Zero-touch provisioning: It allows devices to automatically enroll into Intune the moment a user signs in during initial Windows setup or via Settings.
- Policy enforcement: Without MDM scope enabled, joined devices remain unmanaged, preventing the deployment of security baselines, Conditional Access, and application payloads.
- Lifecycle management: Enabling auto-enrollment ensures that every corporate device is registered in the endpoint management portal for inventory tracking, compliance evaluation, and remote wipe capabilities.
Prerequisites
Before beginning this configuration, ensure you have the following:
- Roles: Your account must hold the Global Administrator or Intune Administrator role.
- Licensing: Microsoft 365 Business Premium includes both Microsoft Entra ID P1 and Intune Plan 1 licenses. However, each user who enrolls a device must have the Intune license actively assigned to them in the Microsoft 365 admin center. Simply having the subscription is not enough.
- Supported Windows Editions: The target devices must be running Windows 10/11 Pro, Enterprise, or Education.
CRITICAL WARNING: Windows Home edition does not support Entra ID Join or Intune enrollment. If you are testing on a consumer laptop running Windows Home, auto-enrollment will fail. You must upgrade the OS to Pro first.
Before You Begin: How Automatic Enrollment Actually Works
Many new administrators assume that after enabling the MDM scope, devices will magically appear in Intune. Here is what actually happens:
- You enable the MDM user scope for “All” or a specific group of users.
- A user manually signs into a Windows device using their work account (during initial Windows setup or via Settings → Accounts → Access work or school).
- The device joins Microsoft Entra ID.
- Because the MDM scope is enabled, the device automatically enrolls into Intune—but this can take 15 to 60 minutes to complete.
- The device then appears in the Intune admin center under Devices → Windows.
Key takeaway: The user must take action (signing in) to trigger enrollment. The setting alone does not magically enroll devices.
Step 1: Access the Automatic Enrollment Settings
There are two ways to reach the same settings. Choose the one you prefer.
Option A (Recommended for beginners): Using the Intune admin center
- Navigate to the Microsoft Intune admin center and log in.
- On the left navigation pane, go to Devices → Enrollment → Windows → Automatic enrollment.
Option B: Using the Microsoft Entra admin center (classic method)
- Navigate to the Microsoft Entra admin center.
- Go to Identity → Mobility (MDM and MAM) → Microsoft Intune.
Both options lead to the exact same configuration pane.
Step 2: Configure the MDM and MAM User Scope
- Click on Microsoft Intune in the list of applications (if not already selected).
- MDM user scope – Choose one of the following:
- All – Every user who joins a device to Entra ID will have that device automatically enrolled into Intune. This is the simplest option for testing and small organizations.
- Some – Only users in a specific Entra security group will have their devices auto-enrolled. (Note: If you change this from “All” to “Some” later, already enrolled devices will not be automatically un-enrolled, but new devices outside the group will fail to enroll).
- None – Auto-enrollment is disabled (default).
Recommendation for initial deployment: Start with All. It requires no group management and just works. You can always change it to “Some” later if needed.
- MAM user scope – Set this to None for Windows device enrollment. MAM (Mobile Application Management) is designed for iOS/Android devices. Leaving it enabled for Windows can cause the OS to attempt mobile-style app management during the device join process, leading to conflicts.
- Leave the default URLs unchanged:
- MDM Terms of use URL – Auto-populated.
- MDM Discovery URL – Auto-populated.
- MDM Compliance URL – Auto-populated.
- Click Save at the top of the pane.
Step 3: Wait for the Change to Propagate
After clicking Save, do not test immediately. Microsoft takes time to apply the change across all services.
- Minimum wait time: 15 minutes
- Recommended wait time: 60 minutes
- Maximum possible propagation time: 24 hours (though rare)
Patience is critical. If you test within 5 minutes, the device will not auto-enroll, and you will waste time troubleshooting a non-issue.
Step 4: Test Enrollment on a Windows Device
Now you are ready to test on a Windows 10/11 Pro, Enterprise, or Education device (version 1709 or later). Remember: Windows Home edition is not supported.
- On the Windows device, go to Settings → Accounts → Access work or school.
- Click Connect (or Join if the device is not yet joined).
- Sign in with the test user’s work credentials (the same user you verified has an Intune license and is within your MDM user scope).
- Complete the sign-in process. The device will join Microsoft Entra ID.
What happens next:
- The device will automatically enroll into Intune in the background.
- This enrollment can take 15 to 60 minutes to complete.
- During this time, you may see a message that “Your device is being managed” or nothing at all—that is normal.
Step 5: Verify the Device in Intune Admin Center
After waiting at least 30 minutes:
- Return to the Intune admin center.
- Navigate to Devices → Windows.
- Look for your test device. It should appear with Managed by = Intune.
- Note: If it says Managed by = Intune + MDM or shows up but policies aren’t applying, it usually means the device has a conflicting on-premises GPO or a third-party MDM agent (like SCCM) fighting for control.
- If it does not appear after 2 hours, proceed to the troubleshooting section below.
Troubleshooting: Device Not Appearing?
Use this checklist if enrollment fails:
| Check | Where to Look | What to Fix |
| User has Intune license? | Microsoft 365 admin center → Users → Licenses and apps | Turn on Microsoft Intune for the user. |
| MDM scope correctly set? | Intune admin center → Devices → Enrollment → Automatic Enrollment | Confirm MDM user scope is “All” or “Some” with a valid group. |
| Enrollment restrictions allow Windows? | Intune admin center → Devices → Enrollment → Enrollment restrictions | Ensure Windows platform is allowed (default is allowed). |
| Windows version & edition? | Settings → System → About | Must be Windows 10/11 Pro, Enterprise, or Education. Home edition will fail. |
| Device join status? | Open Command Prompt on the device and run dsregcmd /status | Check AzureAdJoined and TenantId. If NO, the device failed to join Entra ID (check OS edition and network). |
| Waited enough time? | – | Wait at least 1 hour before troubleshooting further. |
Wrap-Up
You can enable the Intune MDM scope for your Microsoft 365 tenant by accessing the Automatic Enrollment settings in the Intune admin center (or Entra Mobility settings) and modifying the Microsoft Intune application parameters. Ensure you hold Intune Administrator rights, verify your Windows editions, and have assigned Intune licenses to your users before testing. Set the MDM user scope to All for simplicity, leave MAM scope as None, and wait up to 60 minutes for the change to propagate.
Use this configuration to establish automatic device enrollment, providing the essential foundation required to push compliance policies and secure your fleet of Windows endpoints.
Final Tip: If you ever need to disable auto-enrollment, simply set MDM user scope back to None and save. Devices already enrolled will remain managed until you manually retire them from Intune.
Need help with Aramco CCC Certification?
Get a Free Expert Consultation.