
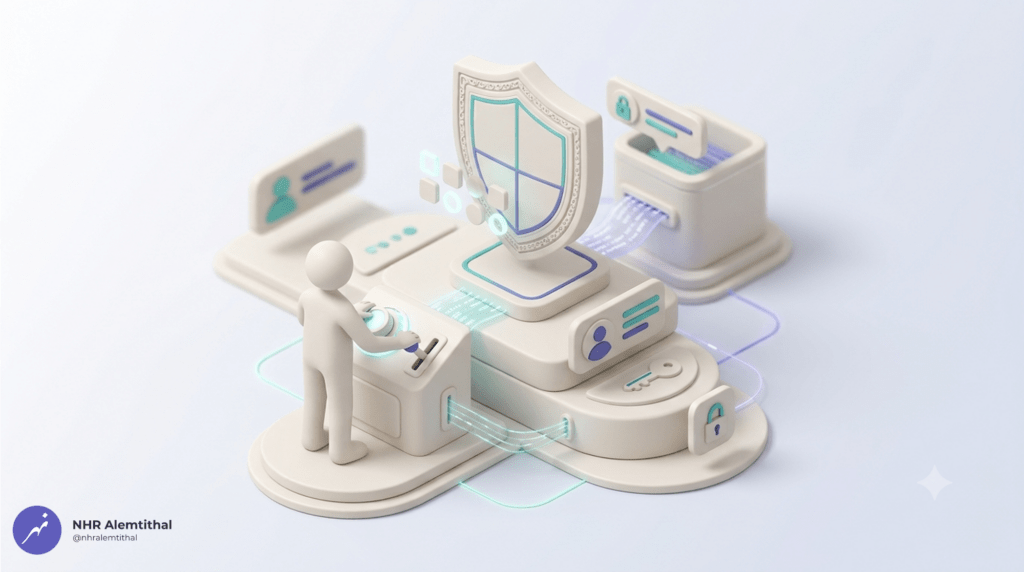
Microsoft Entra Password Protection detects and blocks known weak passwords and their variants globally. In managed environments, configuring the custom banned password list and tuning smart lockout settings is a necessary step to defend against localized brute-force and targeted password spray attacks.
With the Microsoft Entra admin center, you can initialize this configuration centrally from the Authentication methods module. This guide walks through enabling custom password protection and defining lockout thresholds — including critical limits, propagation times, and smart lockout behavior you need to understand.
Why Configure Password Protection?
Controlling password parameters at the tenant level helps with:
- Brute-force defense: Smart lockout tracks failed sign-in attempts and locks out malicious actors while allowing legitimate users to continue working without being permanently locked out of their accounts.
- Industry-specific bans: The custom banned password list prevents users from choosing passwords that include your company name, local sports teams, or internal project codenames.
- Hybrid synchronization: If integrated with local Active Directory, these exact same cloud protections can be pushed down to on-premises domain controllers, ensuring unified password hygiene across both cloud and local environments.
What You Can and Cannot Change
Before configuring, understand the fixed password rules in Microsoft Entra ID:
| Setting | Can You Change It? | Default / Fixed Value |
| Minimum password length | No | 8 characters |
| Maximum password length | No | 256 characters |
| Character complexity requirement | No | Three of four types (lowercase, uppercase, numbers, symbols) |
| Consecutive repeating characters | No | Not allowed (e.g., ‘aaa’ is blocked) |
| Global banned password list | No | Enabled by default. Microsoft updates this list regularly (typically monthly) based on telemetry from compromised passwords. |
| Custom banned password list | Yes | Up to 1,000 terms, each 16 characters maximum |
| Smart lockout threshold | Yes (P1 or higher required) | Default: 10 failed attempts, 60-second lockout |
| Password expiration policy | Yes | Can be set to never expire (requires separate configuration) |
You cannot make passwords simpler or reduce Microsoft’s baseline complexity. You can only make them stronger by adding custom banned words and adjusting lockout behavior.
What You’ll Configure
You will access the Microsoft Entra admin center to navigate to the Authentication methods configuration and modify the Password protection properties.
To perform this action, your account must hold the Authentication Policy Administrator or Security Administrator role (Global Administrator also works but is broader than necessary).
Note: While the global banned password list is active by default for all tenants, configuring a custom banned password list and tuning smart lockout thresholds require an Entra ID P1 or P2 license, which is included in Microsoft 365 Business Premium, E3, and E5.
Step 1: Access Password Protection Settings
- Navigate to the Microsoft Entra admin center and log in with an account that has the Authentication Policy Administrator or Security Administrator role.
- On the left navigation pane, expand Protection → Authentication methods.
- Under the Policies section, click on Password protection.
Step 2: Configure Custom Banned Passwords
The custom banned password list blocks users from including specific words or patterns in their passwords. This list is limited to 1,000 terms, with each term having a maximum length of 16 characters. For longer terms, Microsoft automatically blocks common character substitutions, and the matching process is case-insensitive.
Example of term length in action: If you block the company name “ContosoCorporation” (19 characters), only the first 16 characters (“ContosoCorporat”) will be evaluated. It is better to use the shortened version or a unique acronym like “Ccorp” instead.
- Locate the Custom banned password section on the configuration page.
- Change the Enforce custom list toggle to Yes.
- In the Custom banned password list text box, enter strings specific to your organization (e.g., your company name, subsidiary names, or local cities), entering one term per line.
- (Optional) If you have a hybrid environment and have installed the Entra Password Protection proxy agents, toggle Enable password protection on Windows Server Active Directory to Yes.
- Click Save to apply the custom list.
Propagation Reality Check: Allow up to 60 minutes for the changes to fully propagate across all services. While the portal may show the setting as saved immediately, the actual enforcement across all global datacenters can take up to 60 minutes. Do not panic if a test password is accepted in the first 10 minutes.
Important: The custom list works alongside the global banned password list. You cannot remove or disable the global list — it is always active.
Step 3: Tune Smart Lockout Thresholds
Smart Lockout automatically locks an account after too many failed sign-in attempts. Unlike a simple lockout, it:
- Uses separate counters for familiar vs. unfamiliar sign-in locations: A “familiar” location is based on the user’s historical sign-in behavior. If a user travels to a new city, they are temporarily treated as “unfamiliar,” which might result in a lower lockout threshold.
- Tracks the last three bad password hashes: This prevents an attacker from locking out a user by repeatedly guessing the same wrong password. (Note: Trying 10 different wrong passwords will still trigger a lockout).
- Has lockout duration that increases with repeated attempts: The first lockout lasts 60 seconds, subsequent lockouts last longer.
- On the same Password protection page, locate the Smart lockout section.
- Set the Lockout threshold to define how many failed sign-ins are allowed before the account locks (the default is 10).
- Set the Lockout duration in seconds to define how long the initial lockout lasts before the user can try again (the default is 60 seconds).
- Click Save to commit the threshold changes.
Recommendation for Business Premium: The default settings (10 attempts, 60 seconds) work well for most small organizations. Lower thresholds (e.g., 5 attempts) may frustrate legitimate users who mistype their password. Only adjust if you have a specific security requirement or experience targeted attacks.
Step 4: Verify via PowerShell
Note: Changing the tenant policy applies tenant-wide, but you can use PowerShell to confirm your configuration.
- Open PowerShell 7.x or Windows PowerShell as an administrator.
- Install the Microsoft Graph module (if not already installed) by running:
Install-Module Microsoft.Graph -Scope CurrentUser- Connect to your tenant with the necessary permissions:
Connect-MgGraph -Scopes "Policy.Read.All"A browser window will open. Sign in with your administrator account and consent to the permissions.
- To check if the custom banned password list is enforced, run:
powershell
Get-MgPolicyAuthenticationMethodPolicy | Select-Object -ExpandProperty PasswordProtectionLook for the CustomBannedPasswords property and verify IsCustomBannedPasswordListEnabled is True.
Step 5: Test the Configuration
- Have a test user attempt to change their password to one that includes a term from your custom banned list (e.g., if you banned “Contoso”, have the user change their password to Contoso2026!).
- The user should receive an error message indicating the password contains blocked words.
- If you adjusted smart lockout settings, test by entering the wrong password for a test account multiple times (e.g., 11 attempts if your threshold is 10). After the threshold is exceeded, the account should be temporarily locked out.
Step 6: (For Hybrid Environments Only) Configure On-Premises Protection
If you have an on-premises Active Directory (i.e., users synced from local servers) and want to protect on-premises password changes, you must install the Entra Password Protection DC Agent and Proxy Service.
You can download the installers for both directly from the Password protection page in the Entra admin center. The essential requirements are:
- An Entra ID P1 license is present in your tenant (included in Business Premium).
- You install the Entra Password Protection DC Agent on your domain controllers.
- You install the Entra Password Protection Proxy Service to allow DCs to communicate with Entra ID.
- The feature must be set to Enabled in the Entra portal (under Password protection).
Note for cloud-only environments: If your organization does not have on-premises Active Directory servers, you can ignore this step entirely. The cloud protections are already active.
Troubleshooting: Configuration Not Applying?
| Symptom | Most Likely Cause | What To Do |
| Custom banned list changes not blocking passwords | Propagation delay | Wait up to 60 minutes and test again. Entra ID settings do not apply instantly. |
| Users can still set passwords containing banned terms | Term length exceeds 16 characters | Verify each banned term is 16 characters or fewer. Shorten long terms. |
| Lockout seems inconsistent or allows more than threshold attempts | Multi-datacenter replication | Each datacenter maintains its own counter until sync occurs; you may see slightly more attempts before lockout. This is normal behavior. |
| “Smart lockout” section is disabled or read-only | Your tenant lacks Entra ID P1/P2 | Verify you have Business Premium (which includes P1). The setting requires a premium license. |
| Hybrid on-premises passwords not being blocked | Proxy service not installed or configured | Complete the on-premises agent installation on your domain controllers. This is a separate deployment beyond the Entra portal. |
Wrap-Up
You can configure Password Protection for your Microsoft 365 tenant by accessing the Authentication methods module in Entra ID and modifying the custom banned list and smart lockout parameters. Ensure you hold Authentication Policy Administrator or Security Administrator rights and have the necessary Entra ID P1 licensing (included in Business Premium) before starting.
Key takeaways for your Business Premium environment:
- The custom banned password list is limited to 1,000 terms, each with a maximum of 16 characters.
- Microsoft’s baseline password complexity (8 characters minimum, three of four character types, no consecutive repeats) cannot be changed.
- Smart Lockout uses location awareness and bad password hash tracking to distinguish legitimate users from attackers — it is not a simple fixed counter.
- Allow up to 60 minutes for configuration changes to apply across all services.
- On-premises protection requires separate agent installation on your domain controllers.
Use this configuration to block easily guessable, company-specific passwords and mitigate brute-force attacks, providing the essential perimeter defense required to secure your organizational identities.
Need help with Aramco CCC Certification?
Get a Free Expert Consultation.